VITURE#
VITURE is a top brand in AR glasses, providing a special gaming experience. This guide will help you set up your VITURE Gen 1 Glasses with SuperDepth3D, based on your graphics card (GPU).

VITURE is one of the key players in the AR glasses industry.#
Setting Up VITURE with Intel GPU#
To use your VITURE AR Glasses with an Intel GPU, follow these steps:
Initial Steps#
Update your Arc Drivers: Make sure you have the newest Arc Drivers installed.
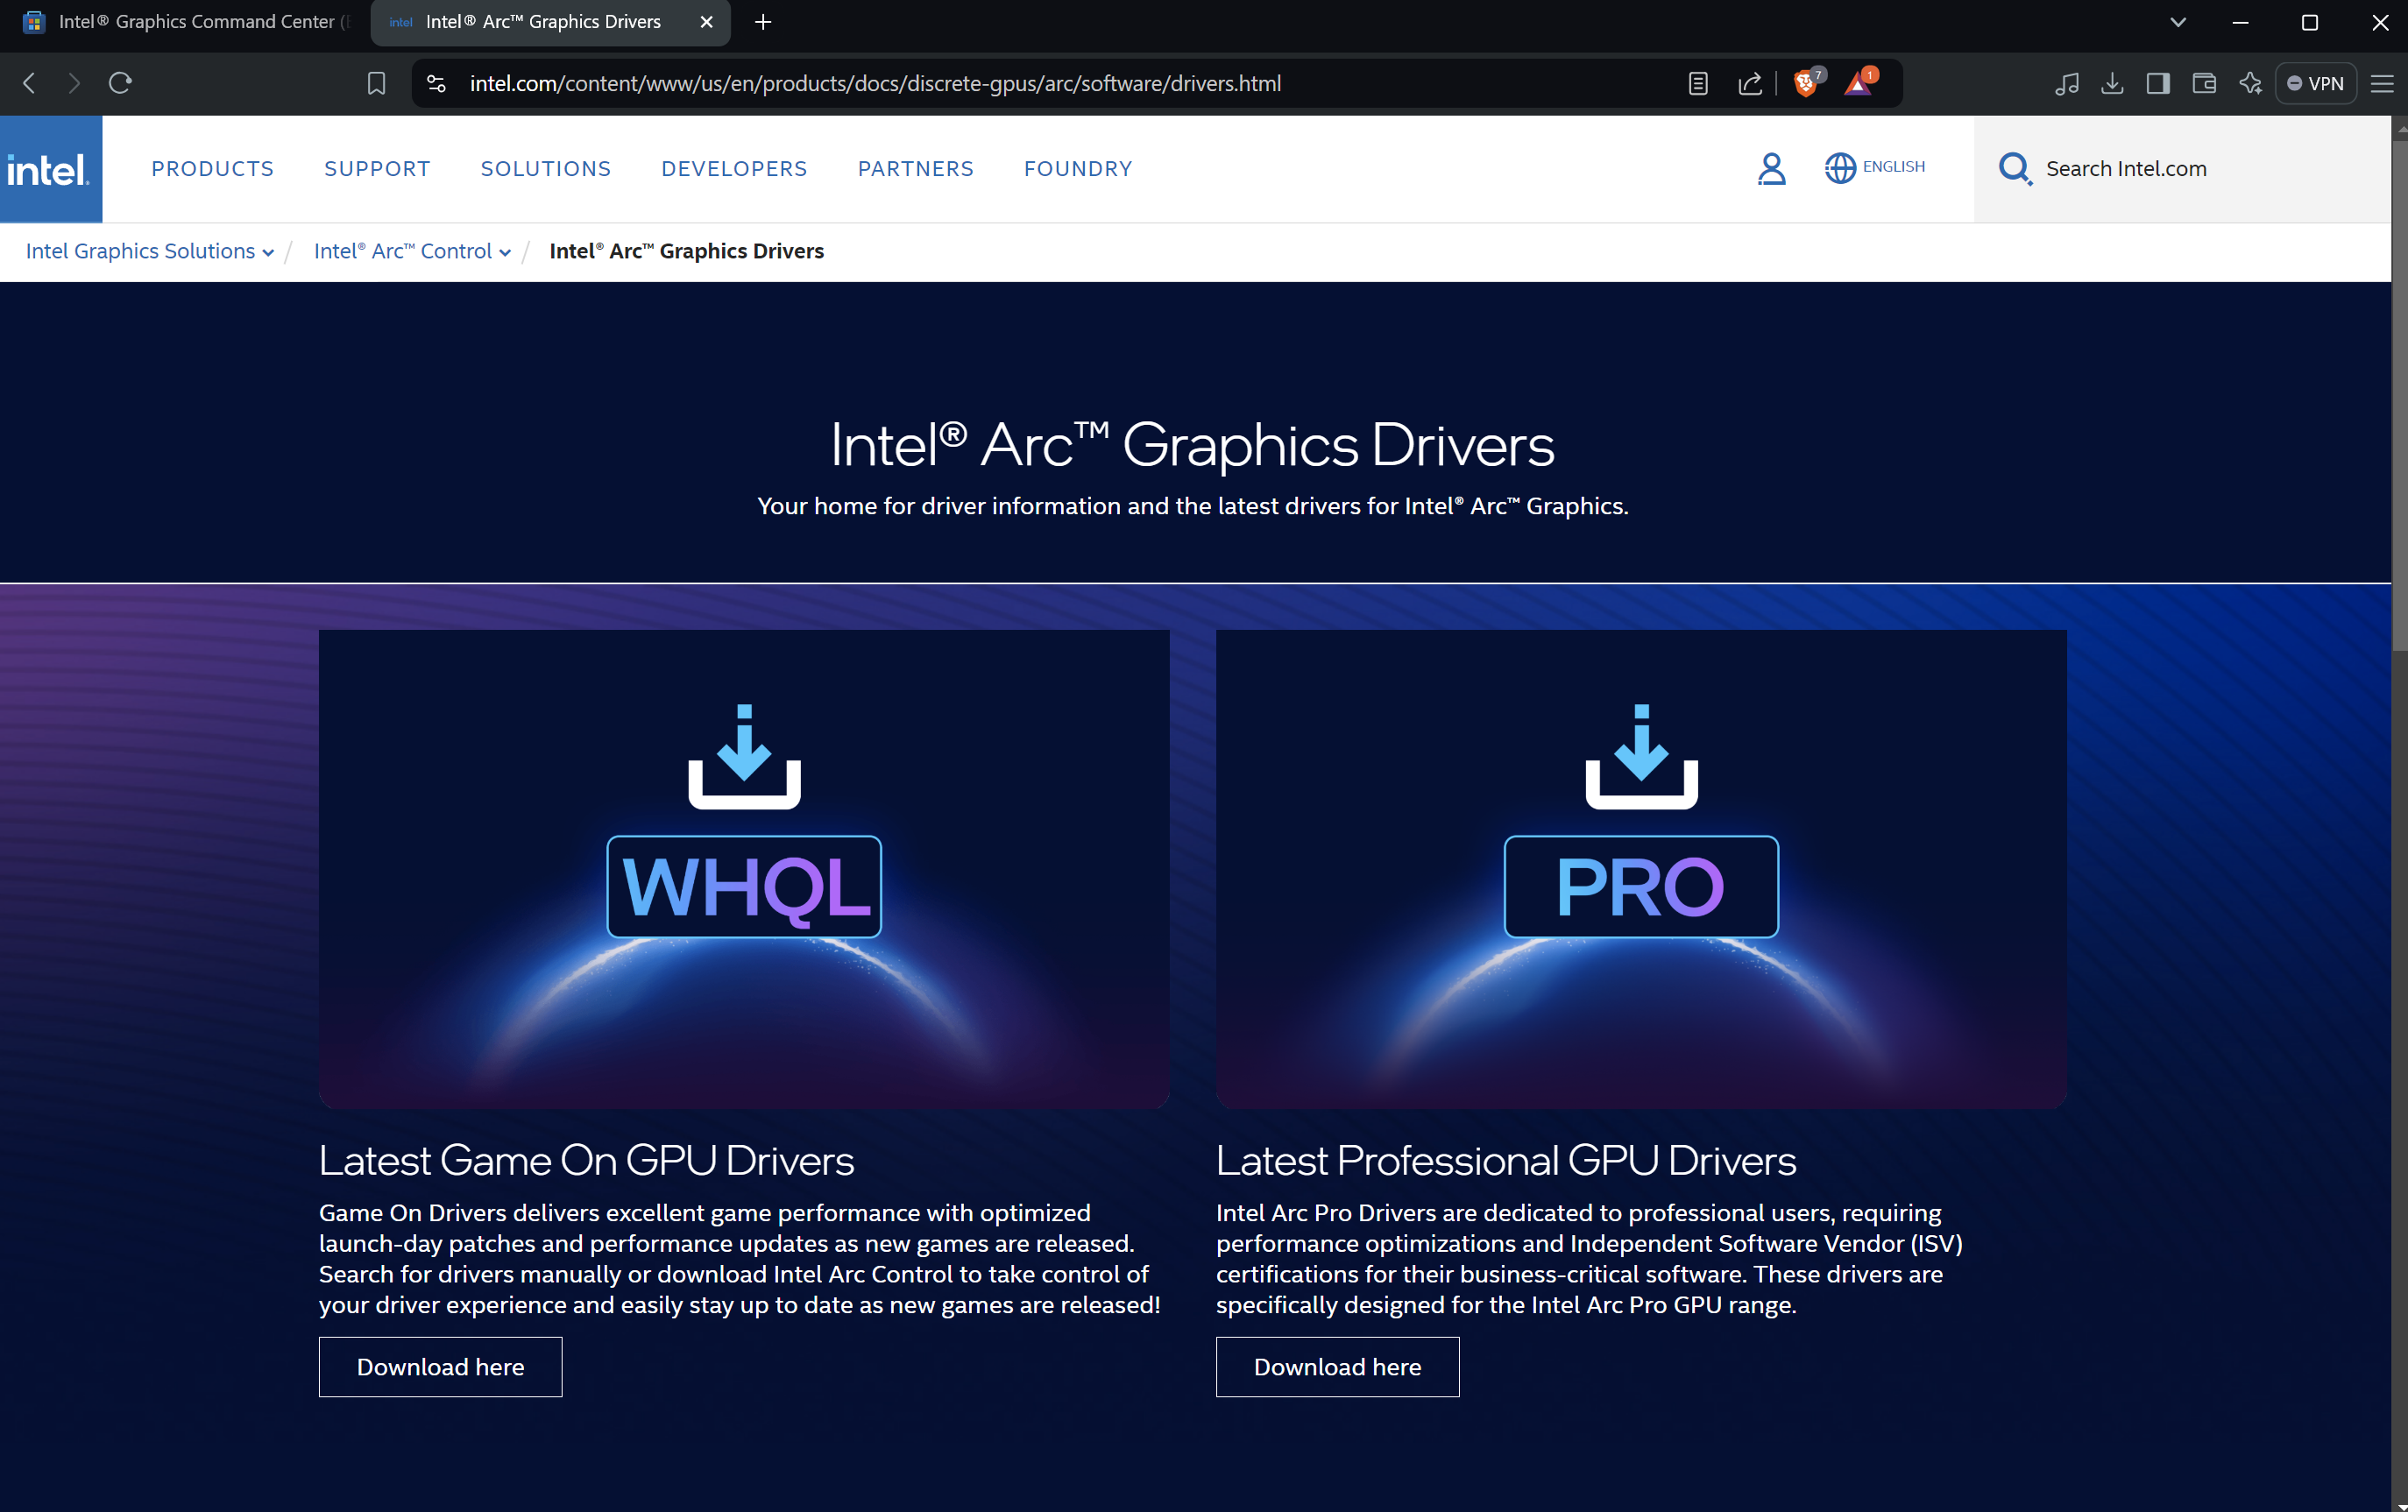
Screenshot of the Intel Arc Drivers page.#
Download Intel Graphics Command Center: Install the beta version of the Intel Graphics Command Center application.
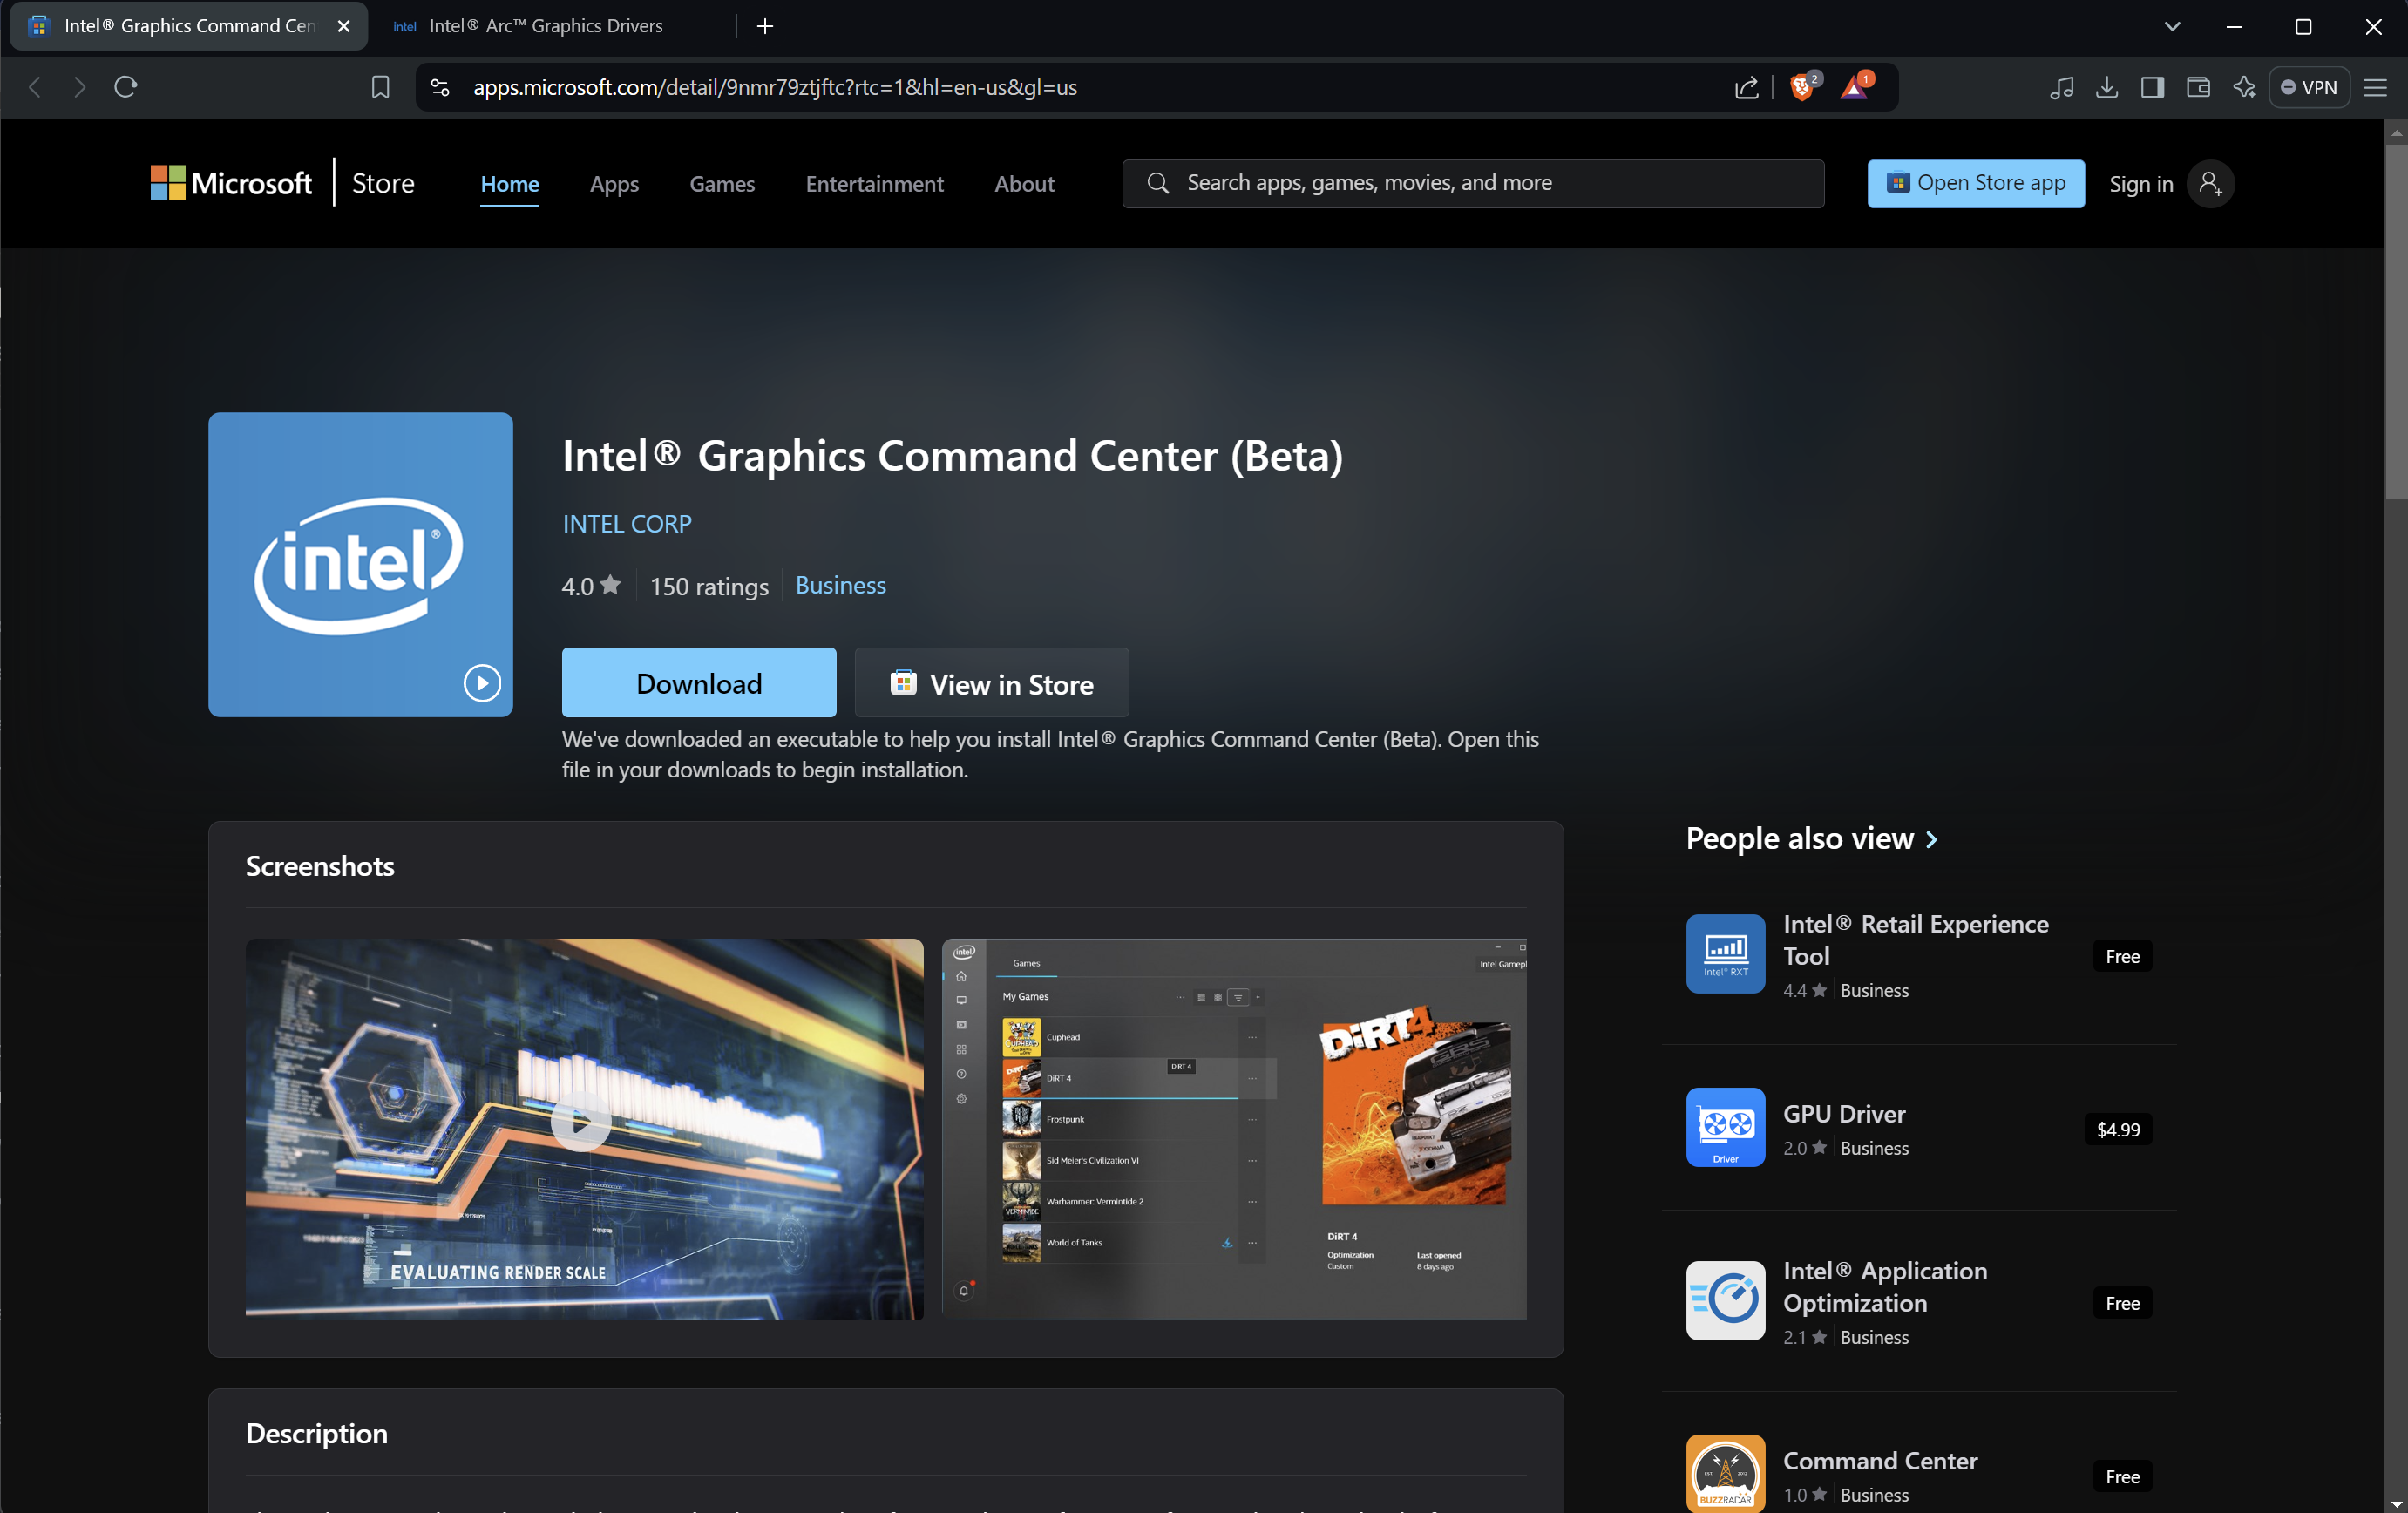
Screenshot of the Intel Graphics Command Center app page.#
Configuring VITURE with Intel GPU#
Switch to 3D Mode: Plug in your VITURE AR Glasses. Hold down the first button for a few seconds to switch them to 3D Mode.
Windows should see it as a 3840 x 1080p screen:
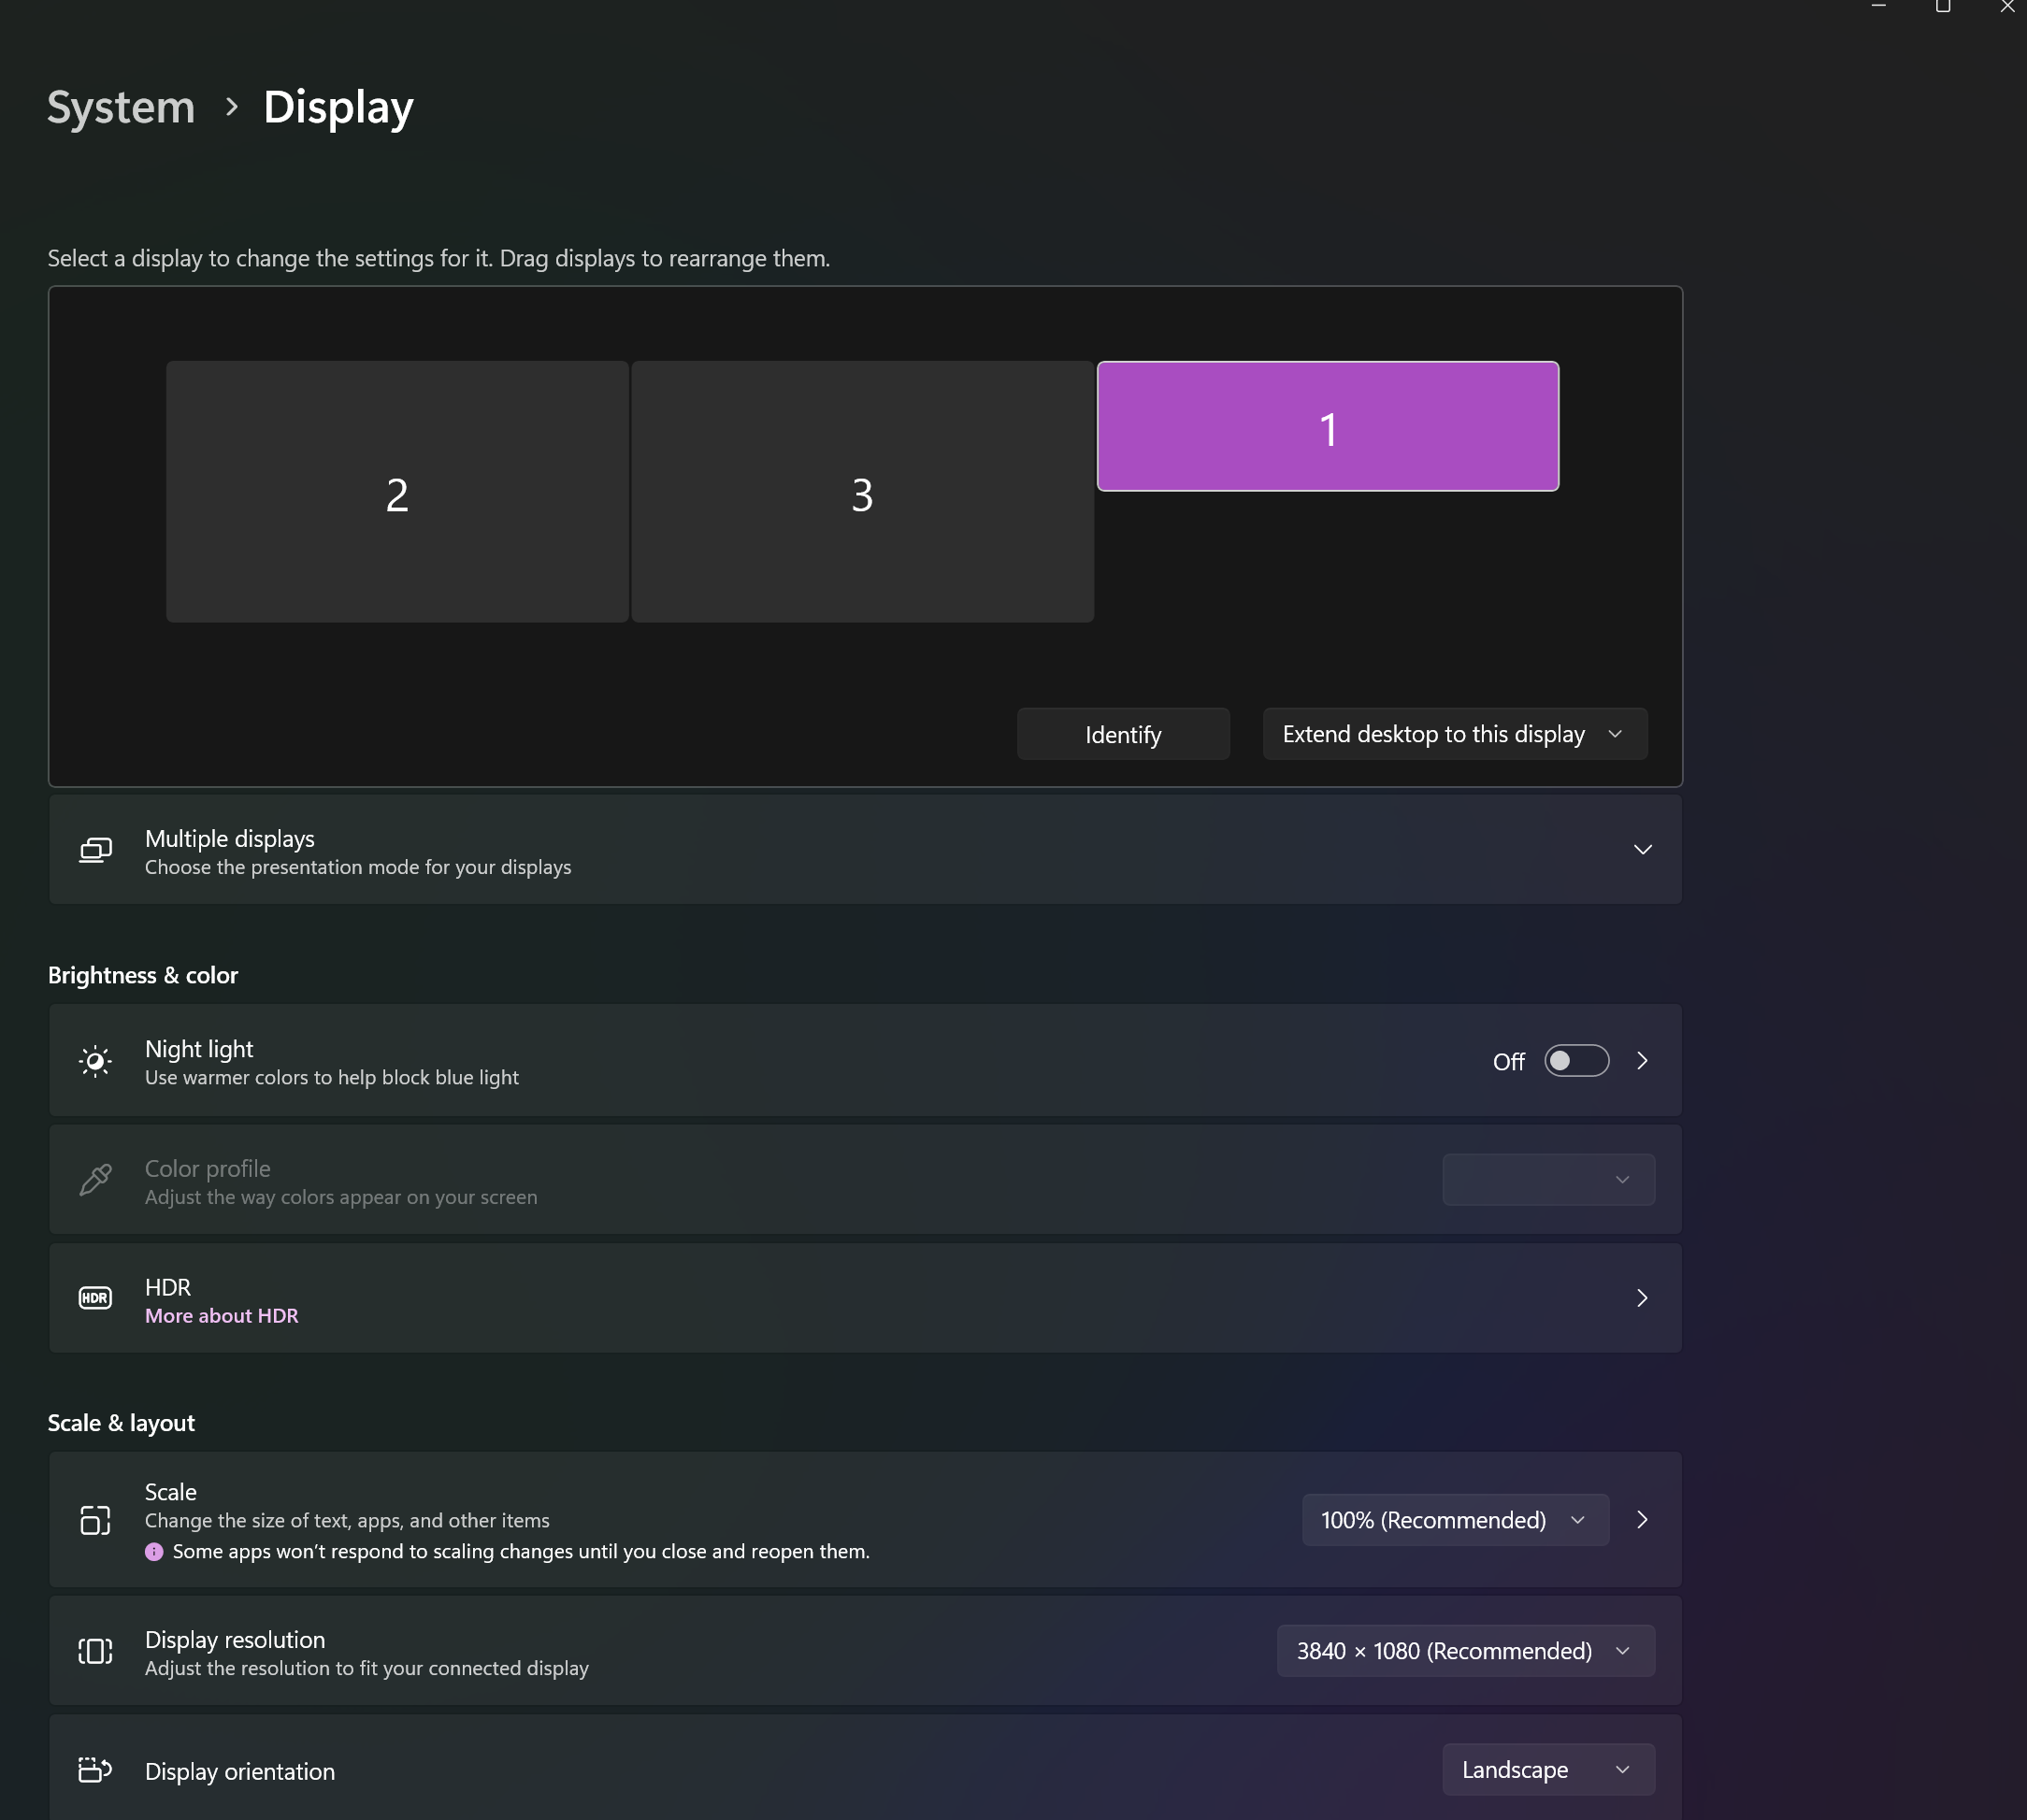
Screenshot of Windows display settings showing the VITURE screen.#
If you see this, it’s a good sign.
Launch Intel Graphics Command Center: Open the Intel Graphics Command Center (BETA).

Screenshot of the Intel Graphics Command Center application.#
Select Display Settings: Click on Display.
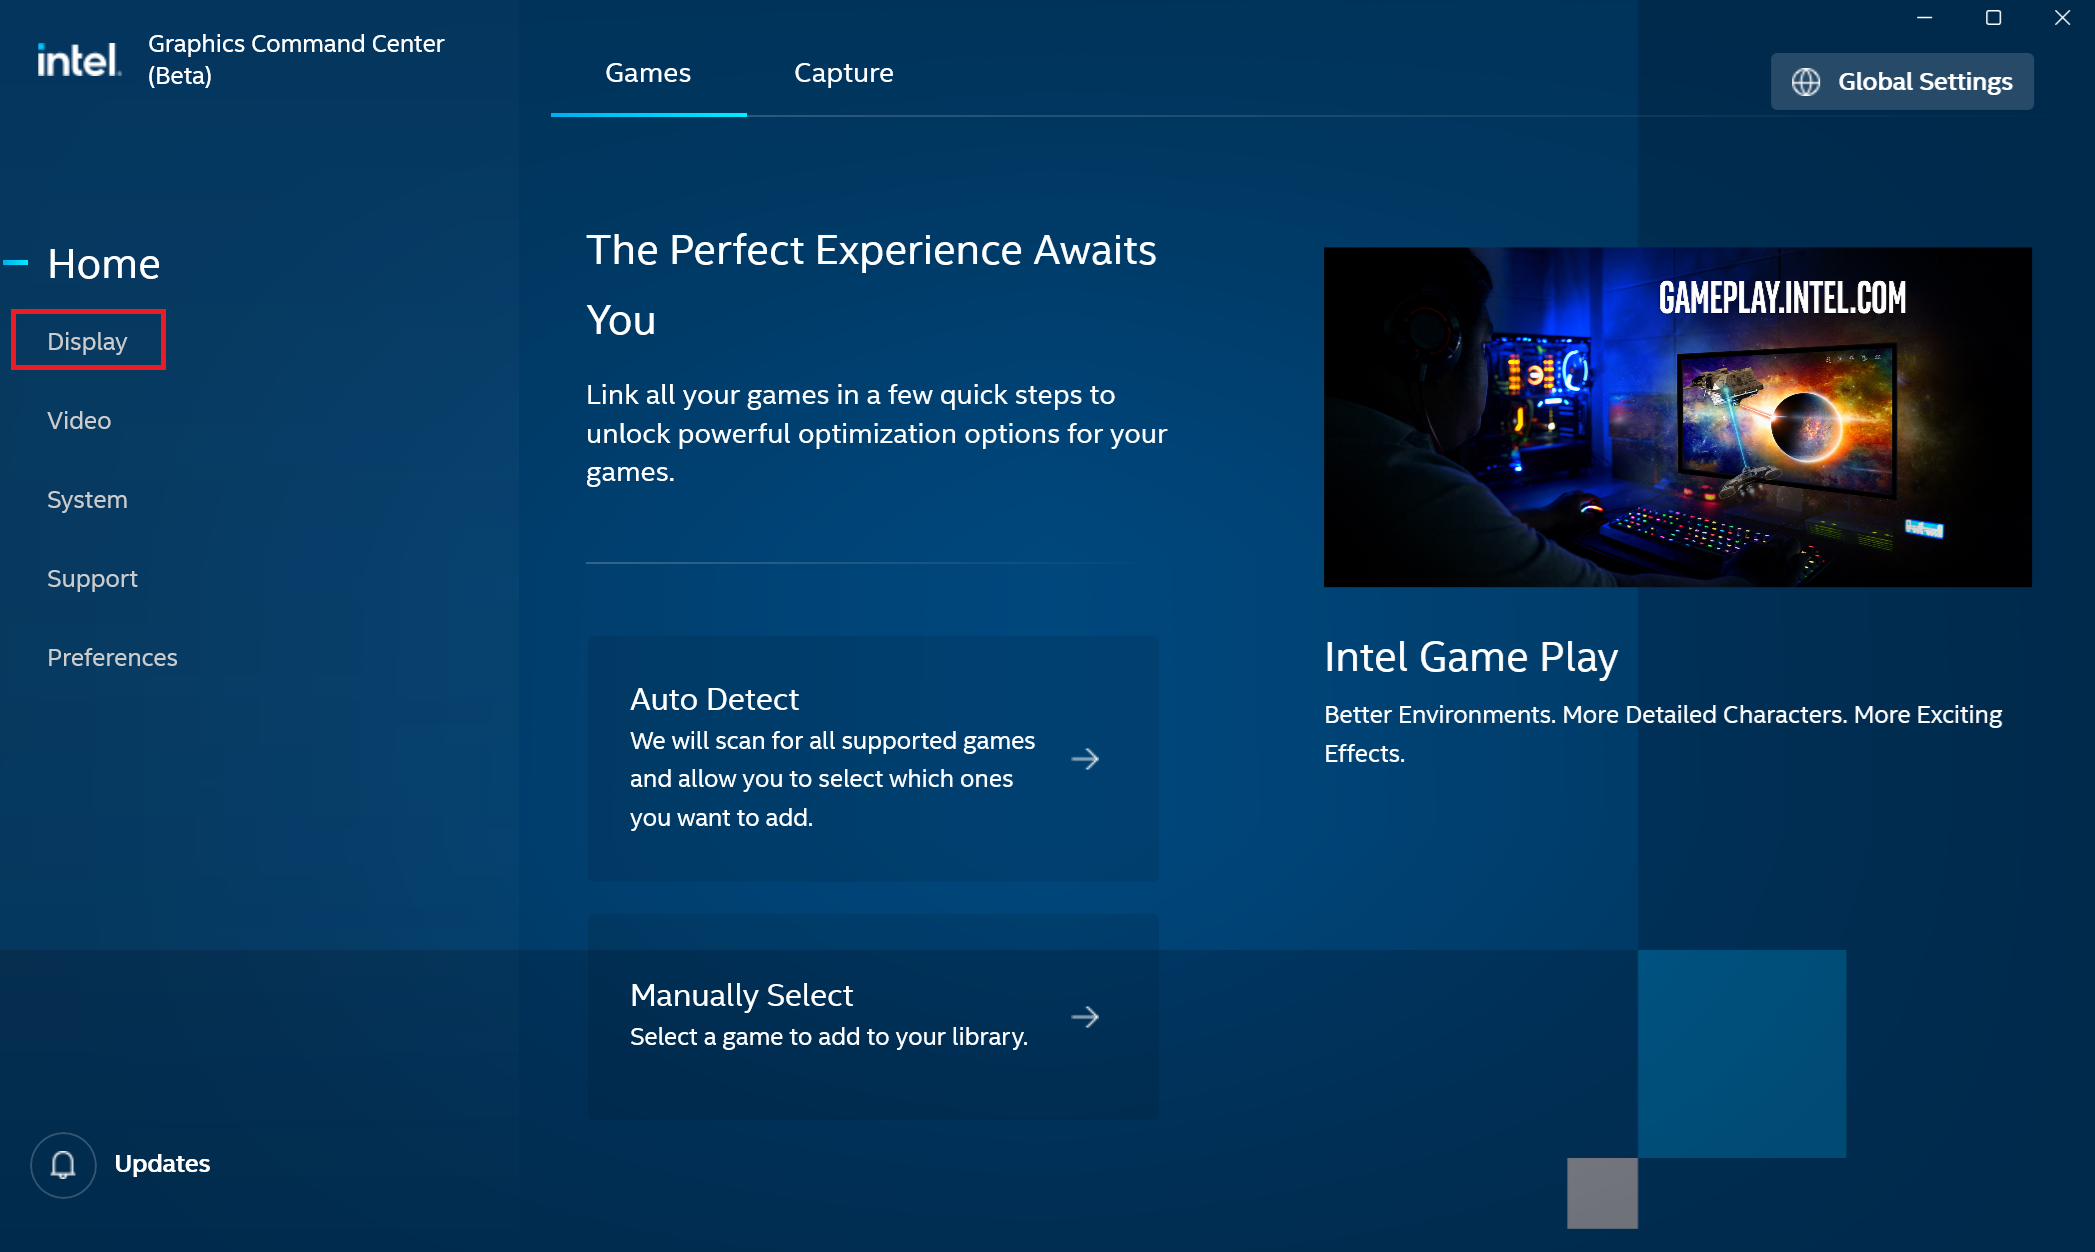
Screenshot showing the Display option in Intel Graphics Command Center.#
Select VITURE Screen: Click on the screen labeled VITURE.
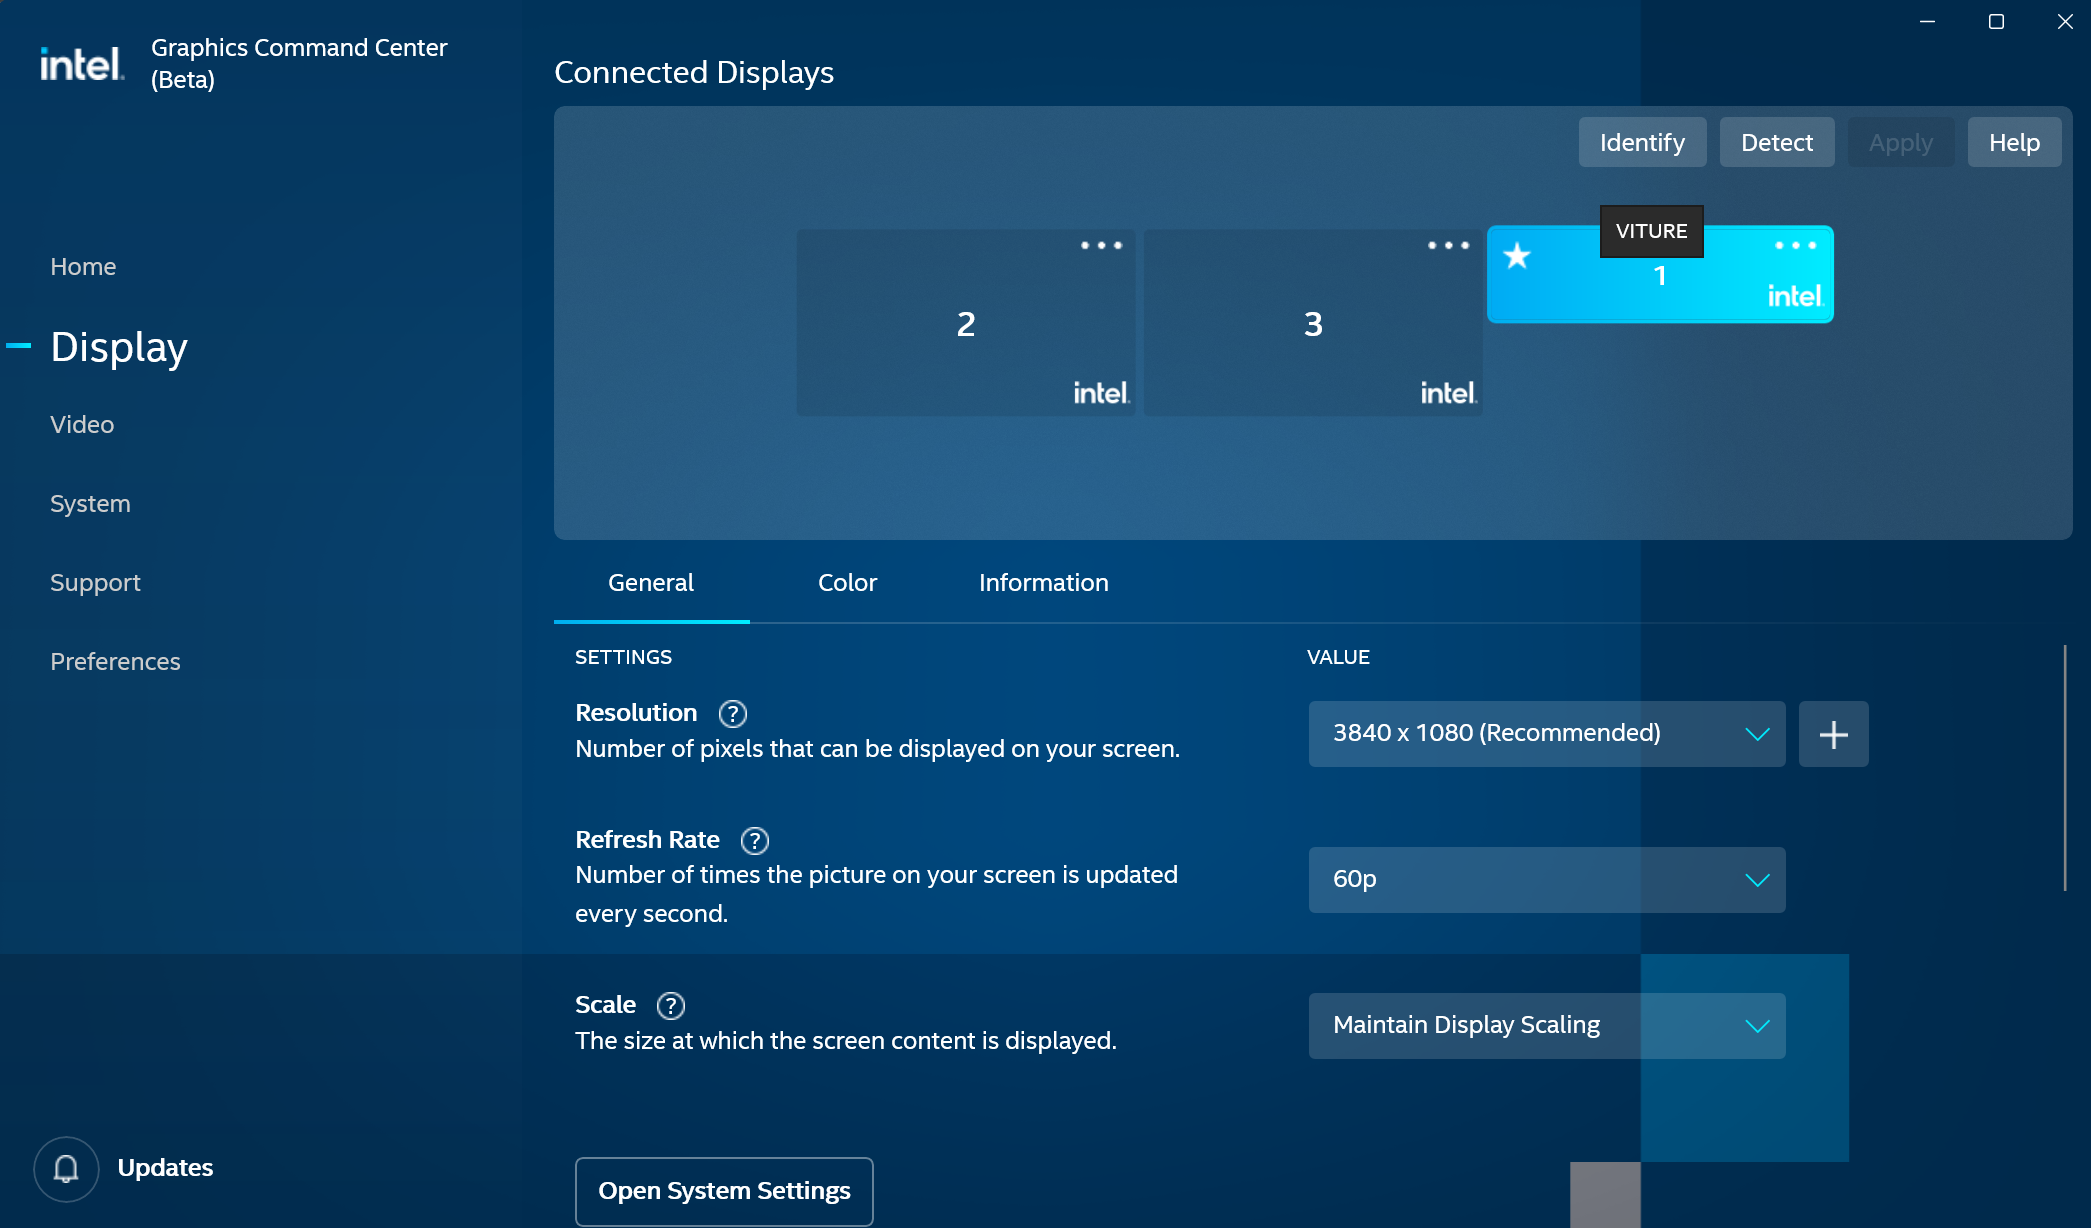
Screenshot showing the VITURE screen selected.#
Change Resolution: Go to settings and change the resolution from 3840 x 1080 to 1920 x 1080.

Screenshot showing the resolution settings.#

Screenshot showing the resolution changed.#
Set Scale Size: Change the scale size to Stretched.

Screenshot of the scale size options.#
Verify Settings: Your settings should now look like this:
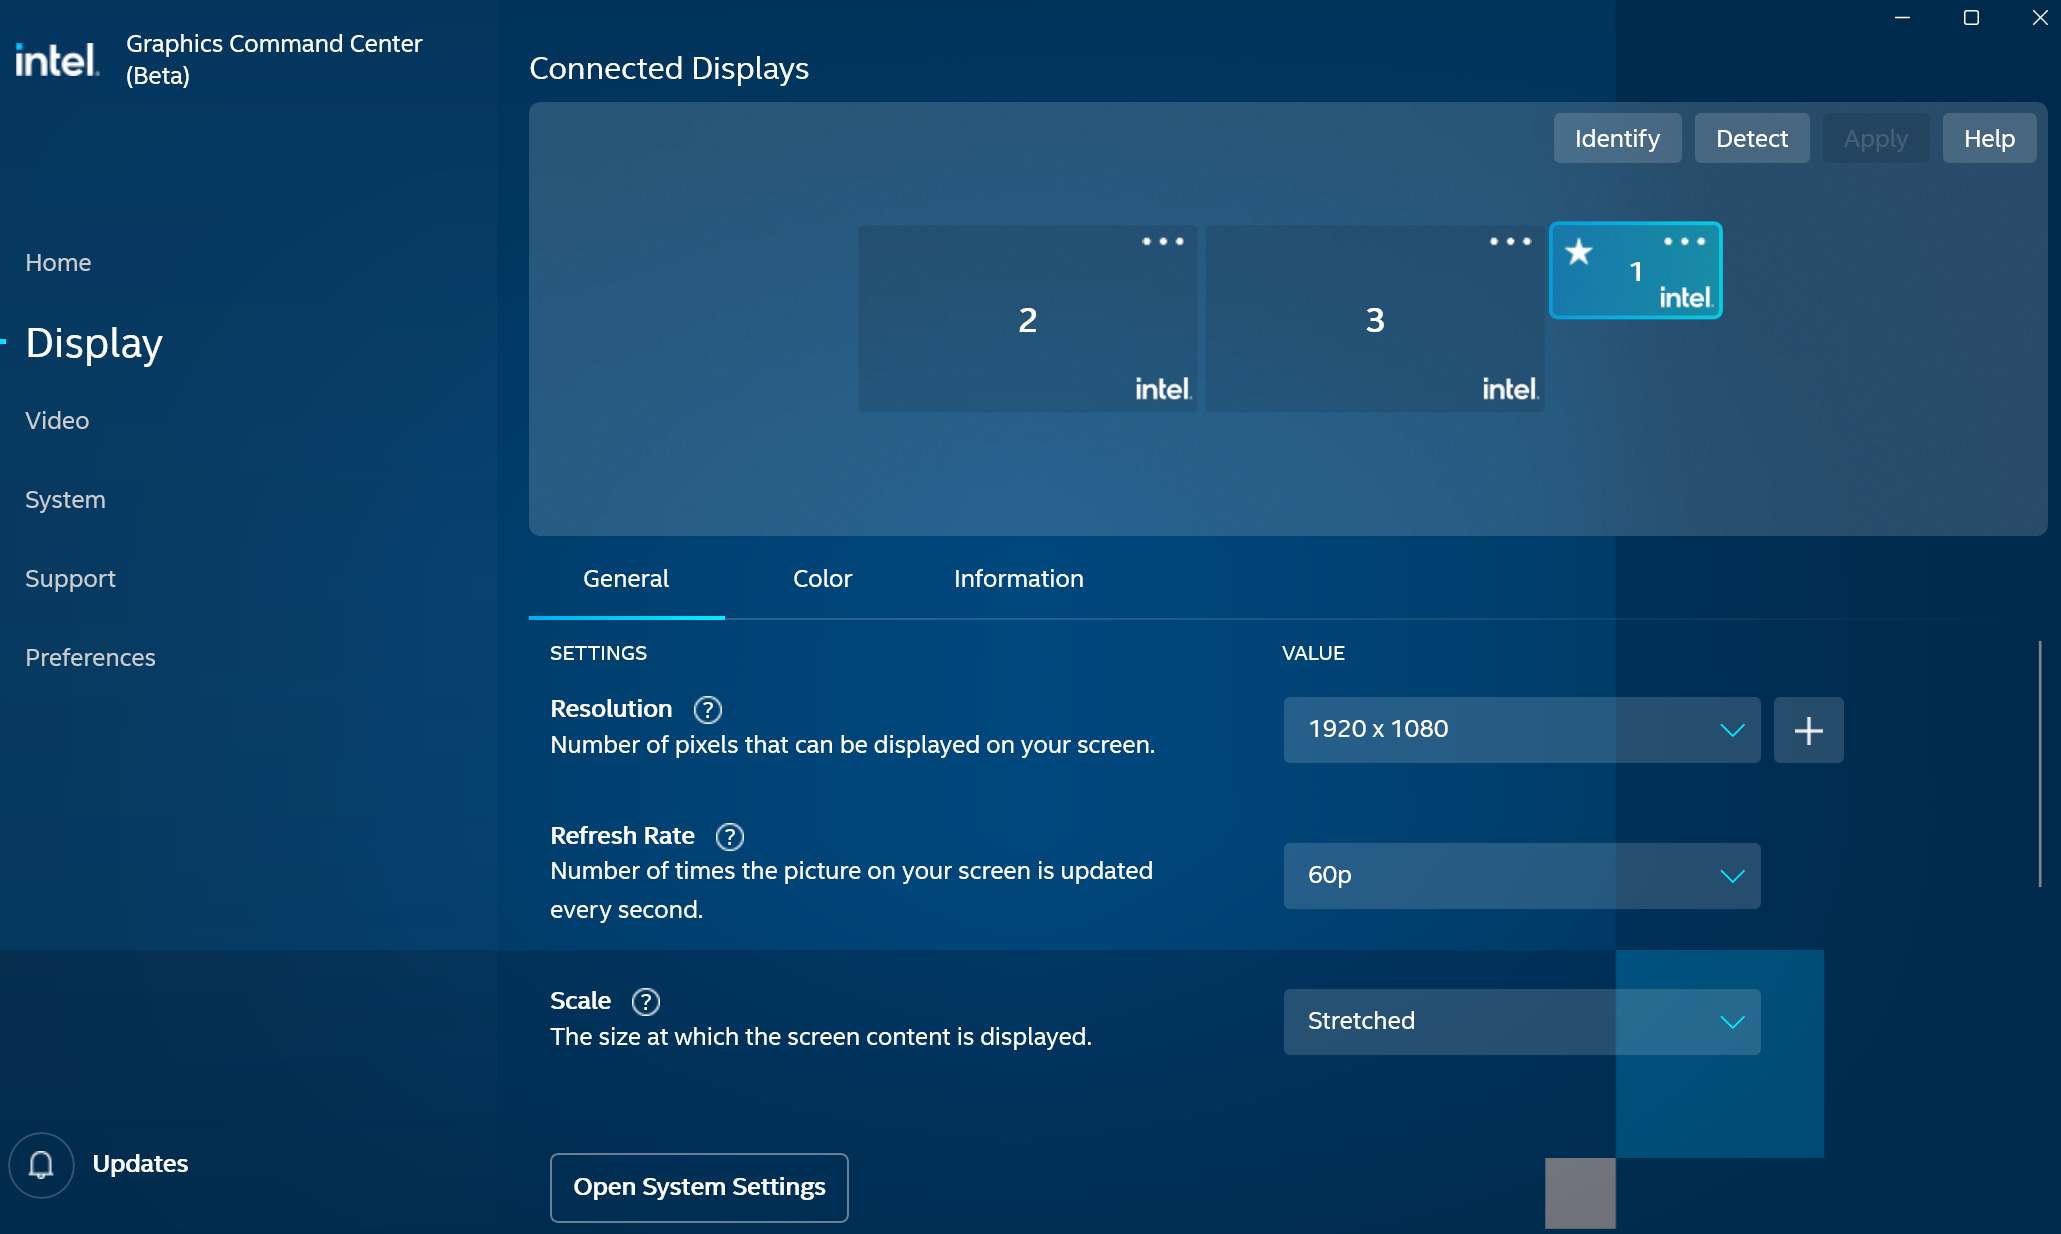
Screenshot of the final display settings.#
Now you can start your game with SuperDepth3D and enjoy it in stereo 3D.
Setting Up VITURE with NVIDIA GPU#
To use your VITURE AR Glasses with an NVIDIA GPU, follow these steps:
Update your NVIDIA Drivers: Make sure you have the newest NVIDIA Drivers installed.
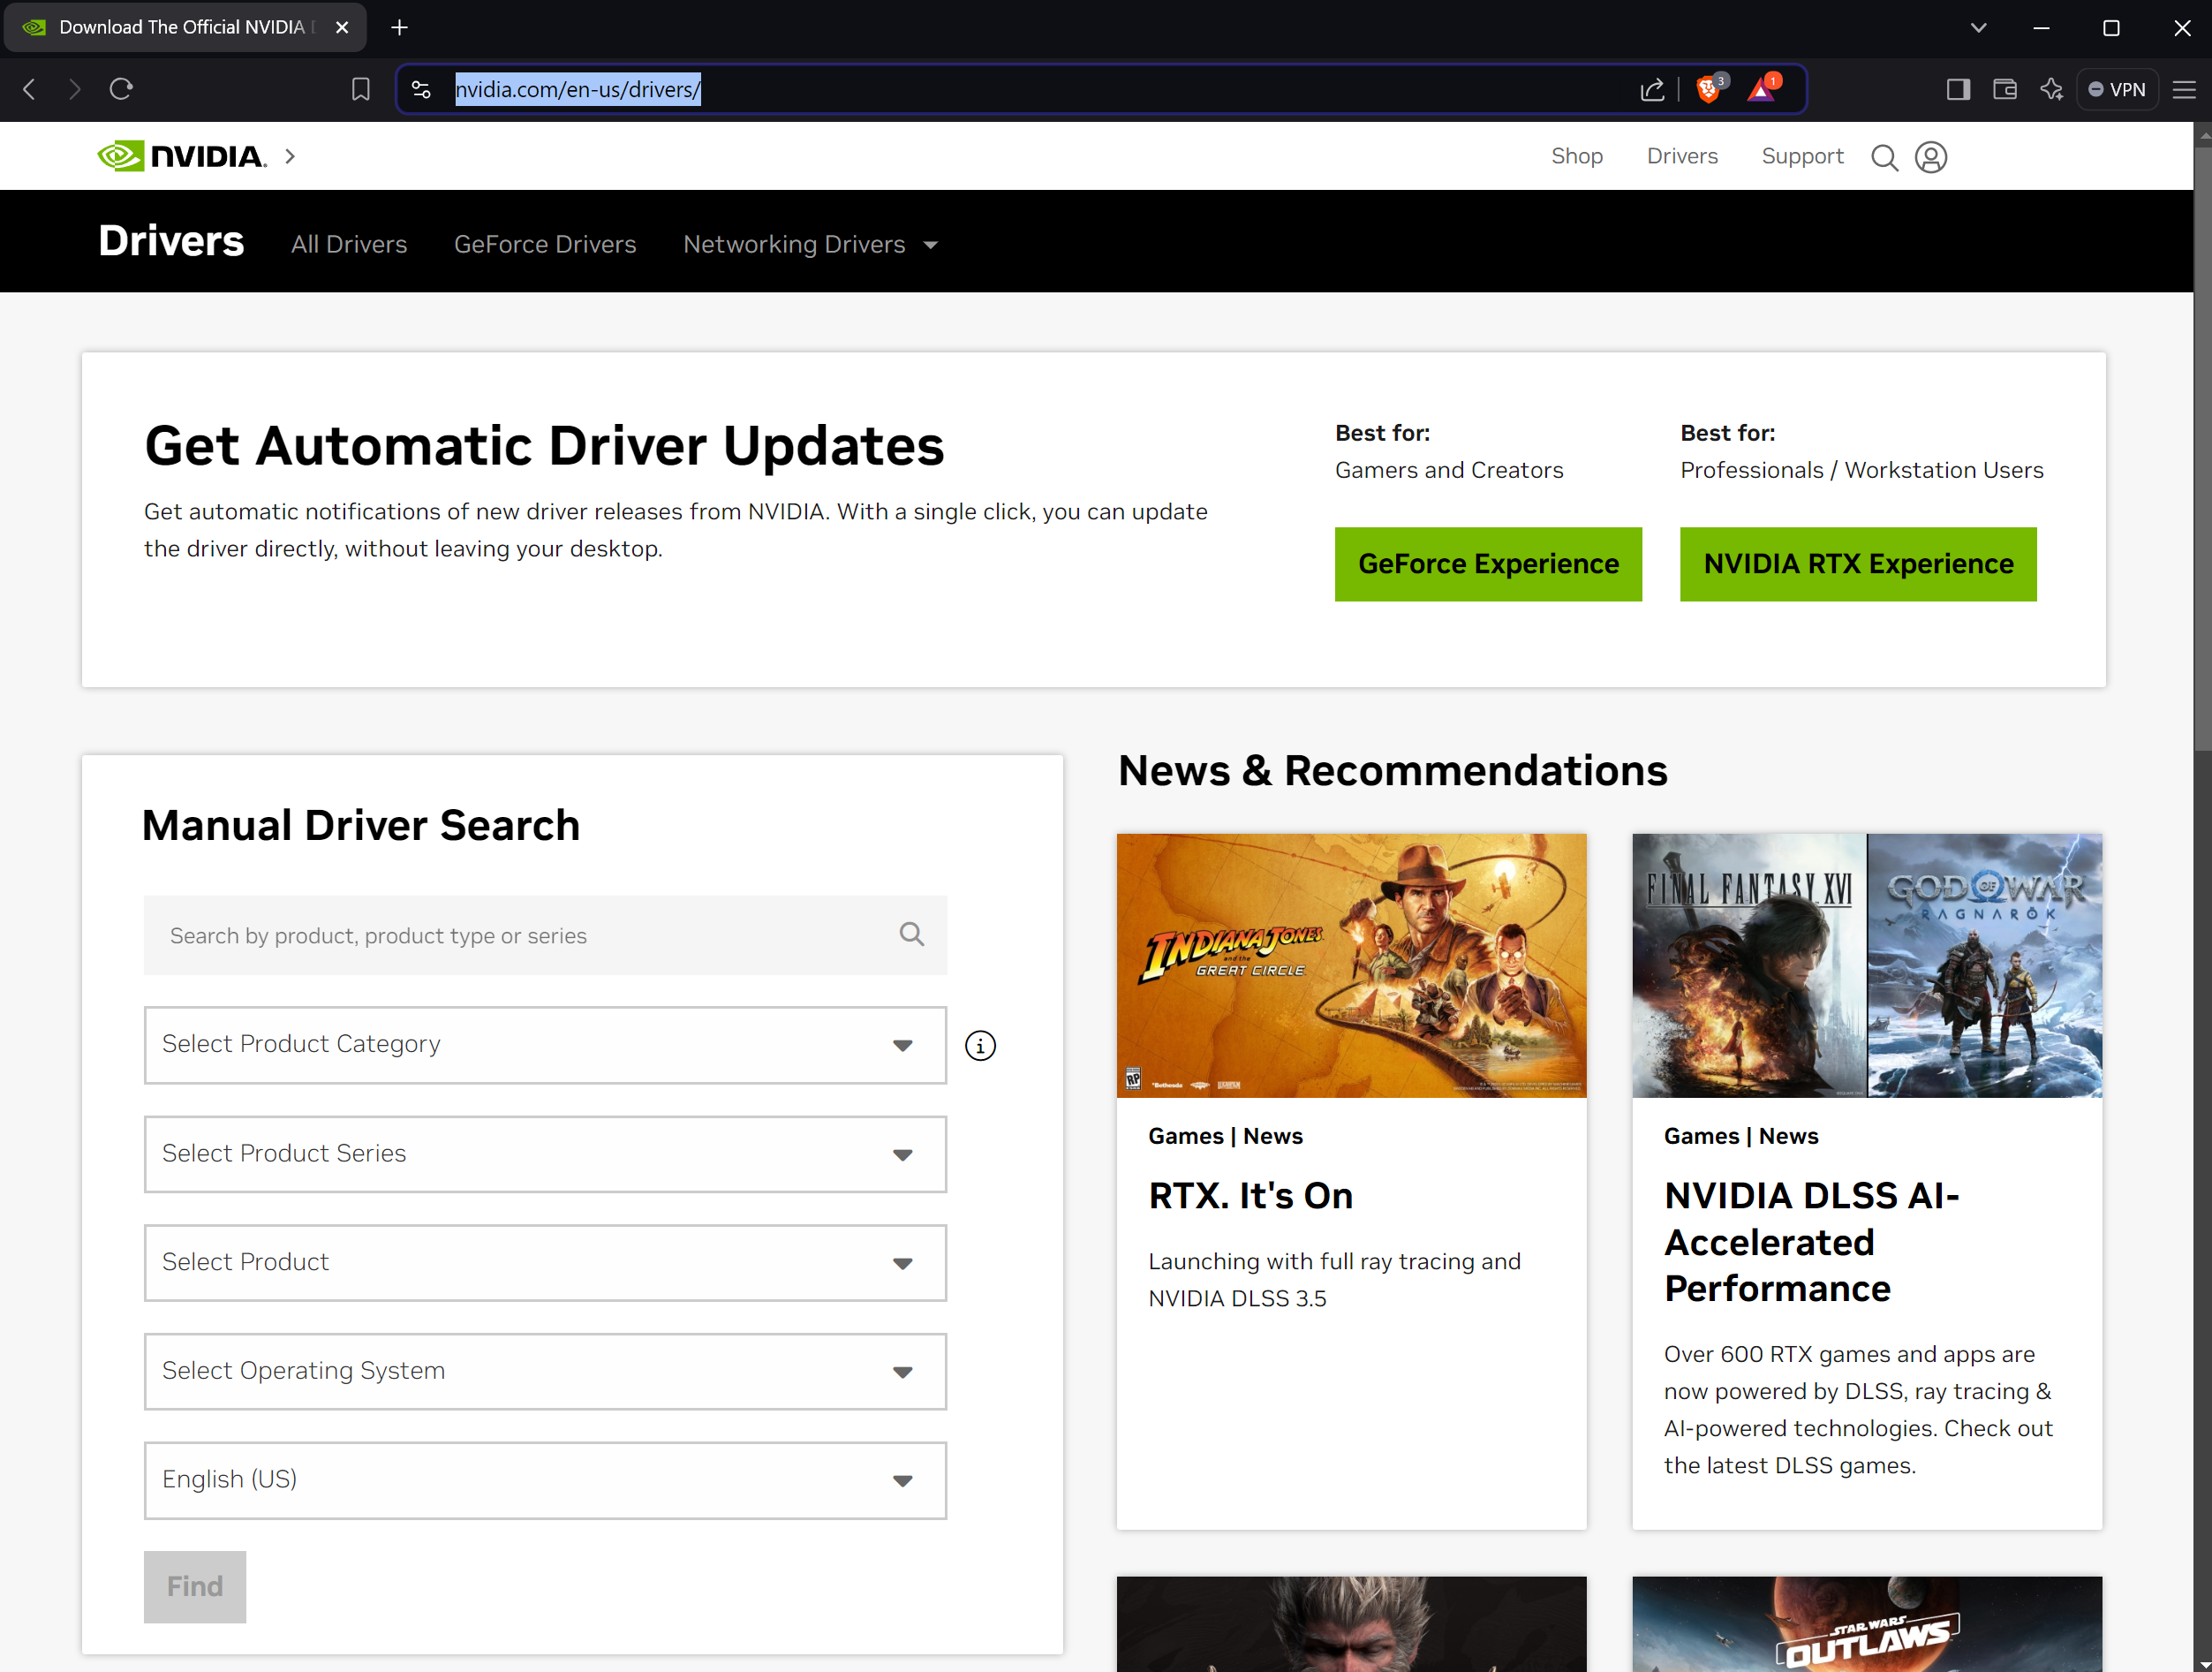
Screenshot of the NVIDIA drivers page.#
Switch to 3D Mode: Plug in your VITURE AR Glasses. Hold down the first button for a few seconds to switch them to 3D Mode.
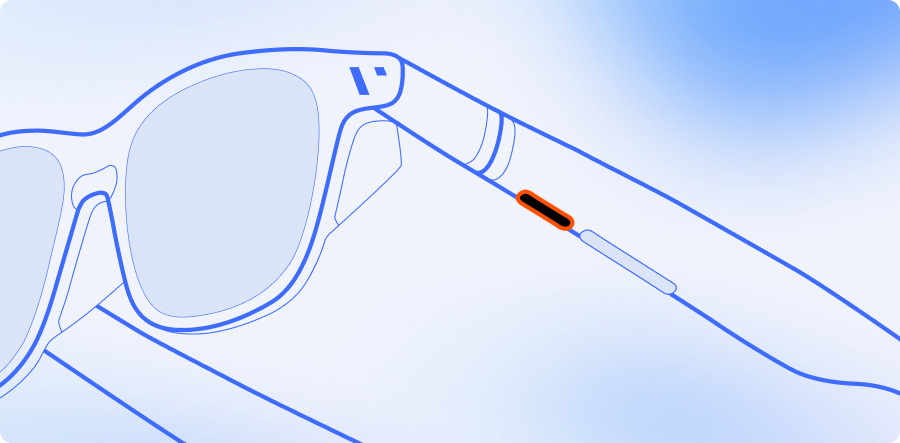
Image of VITURE glasses showing the button location.#
Windows should see it as a 3840 x 1080p screen:
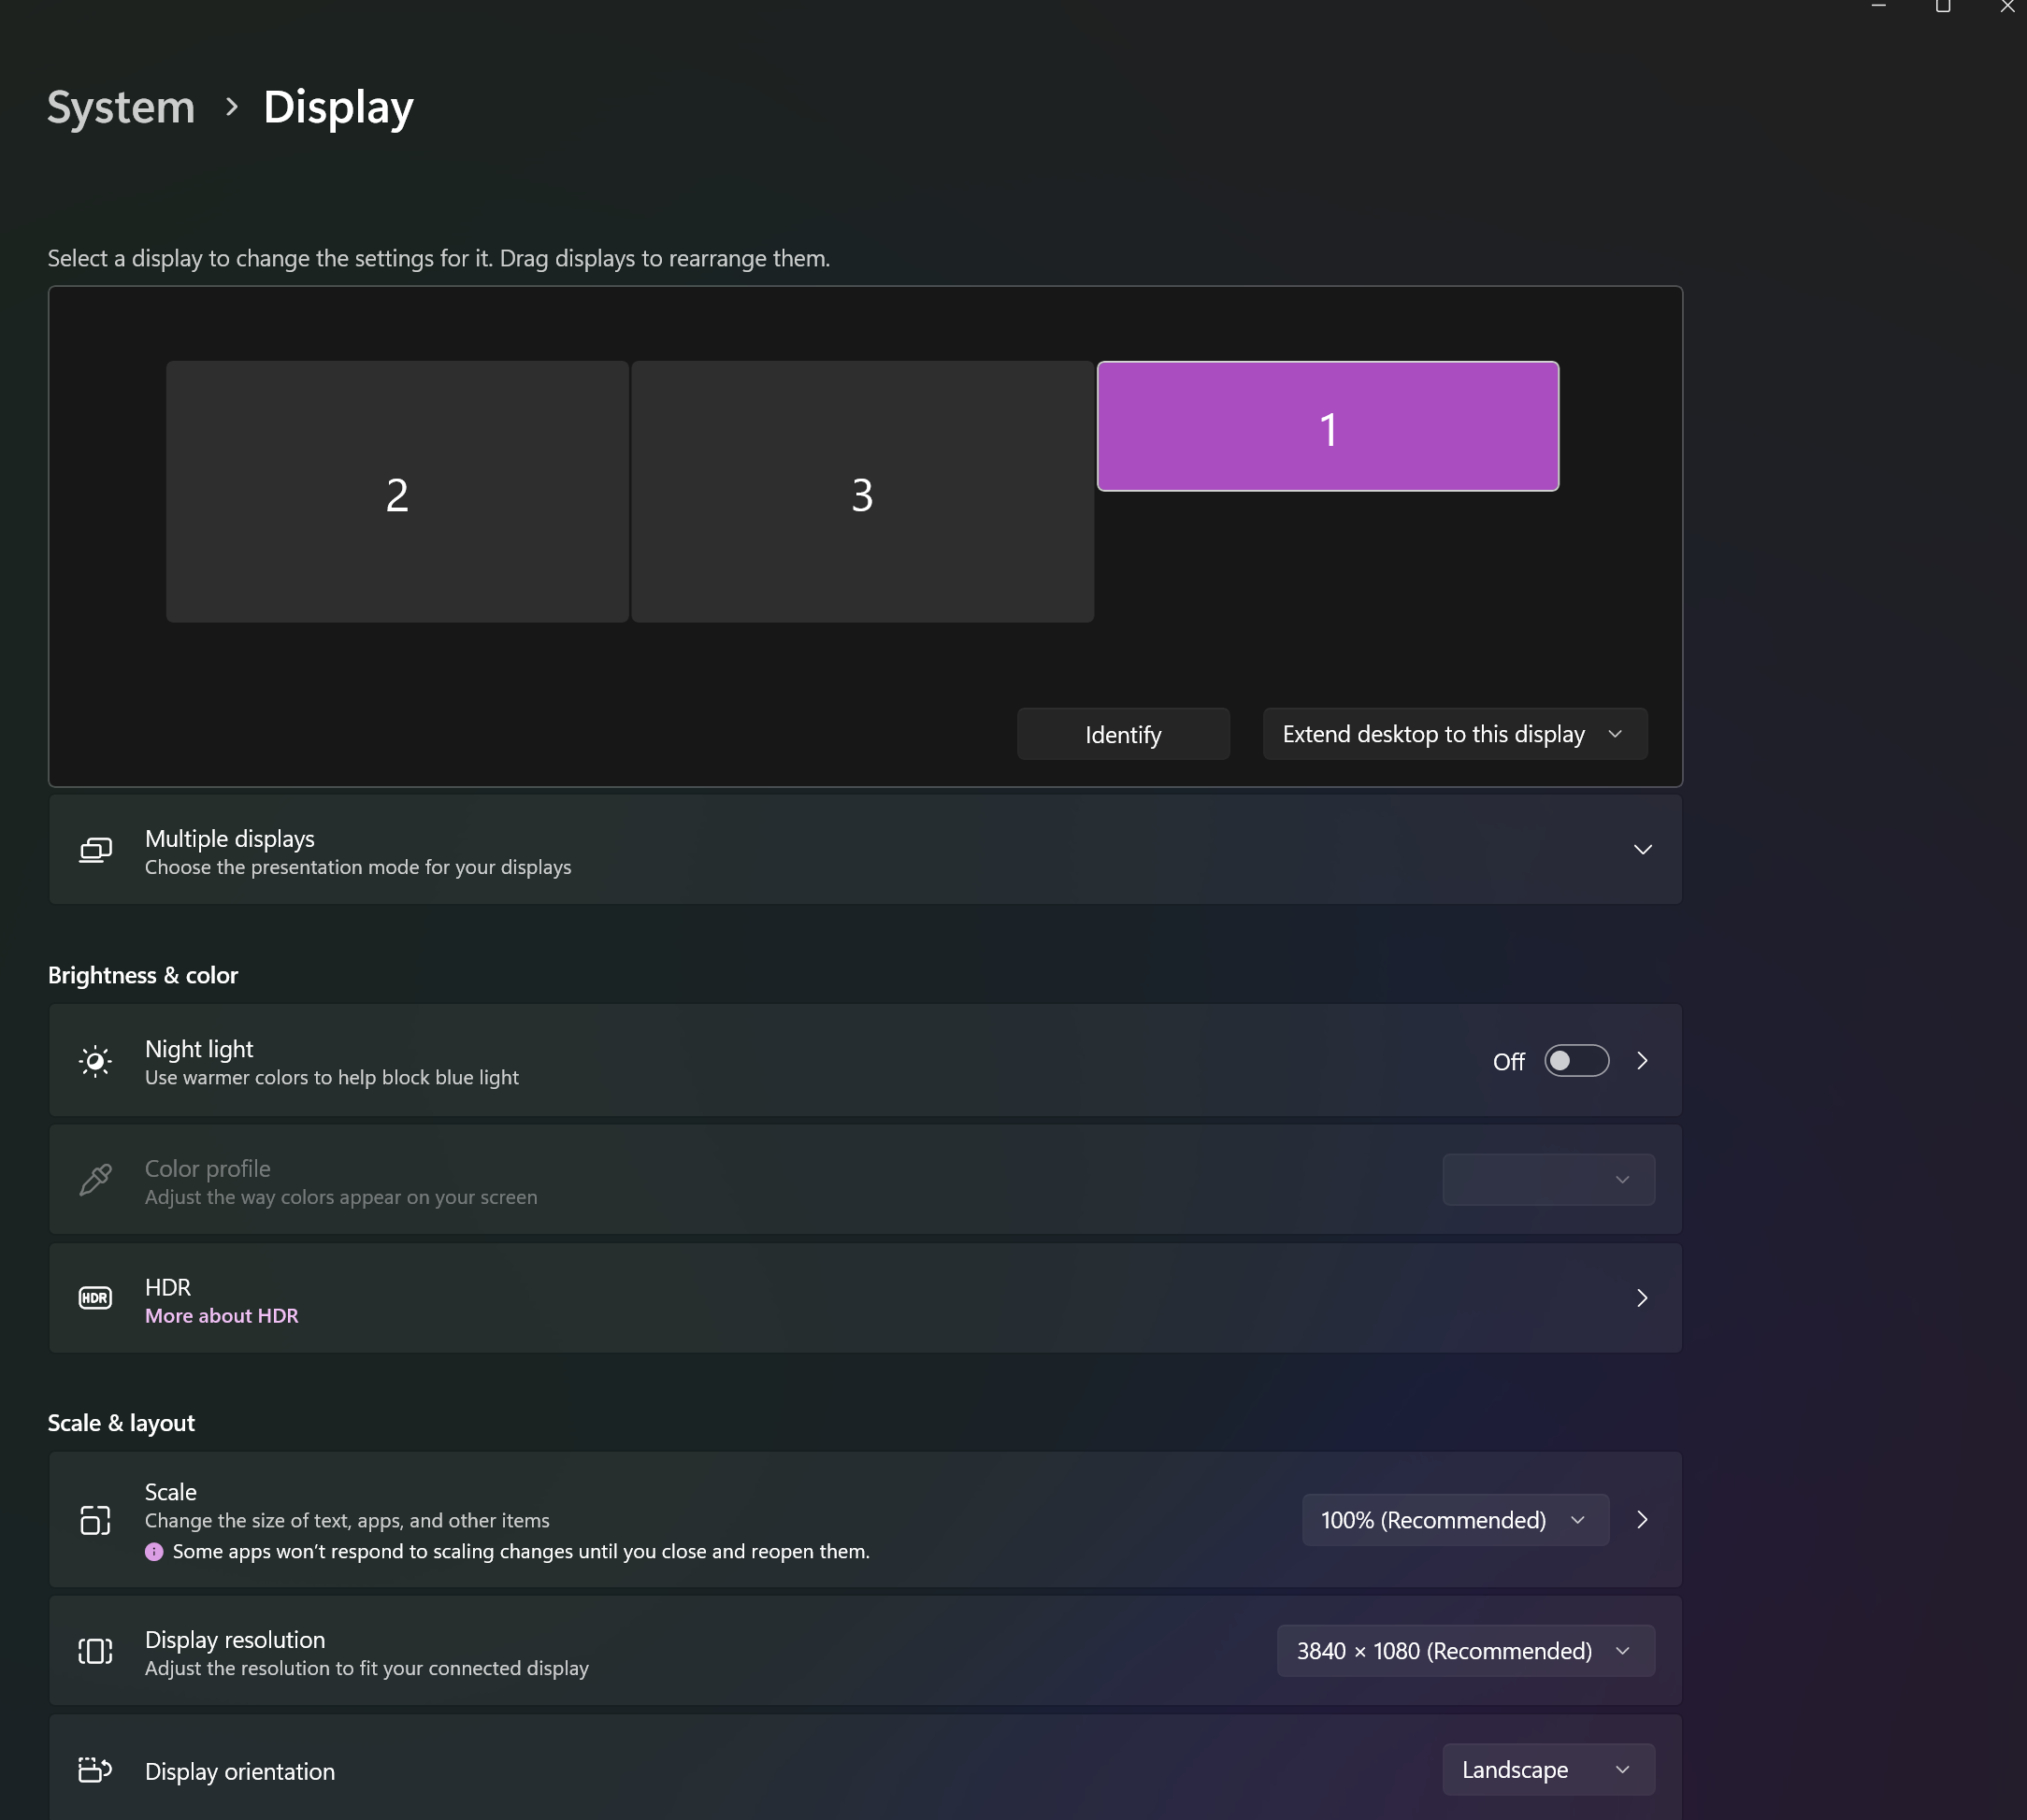
Screenshot of Windows display settings showing the VITURE screen.#
If you see this, it’s a good sign.
Launch NVIDIA Control Panel: Open the NVIDIA Control Panel.

Screenshot of the NVIDIA Control Panel.#
Change Resolution: Click on Change Resolution and set it to 1920 x 1080.
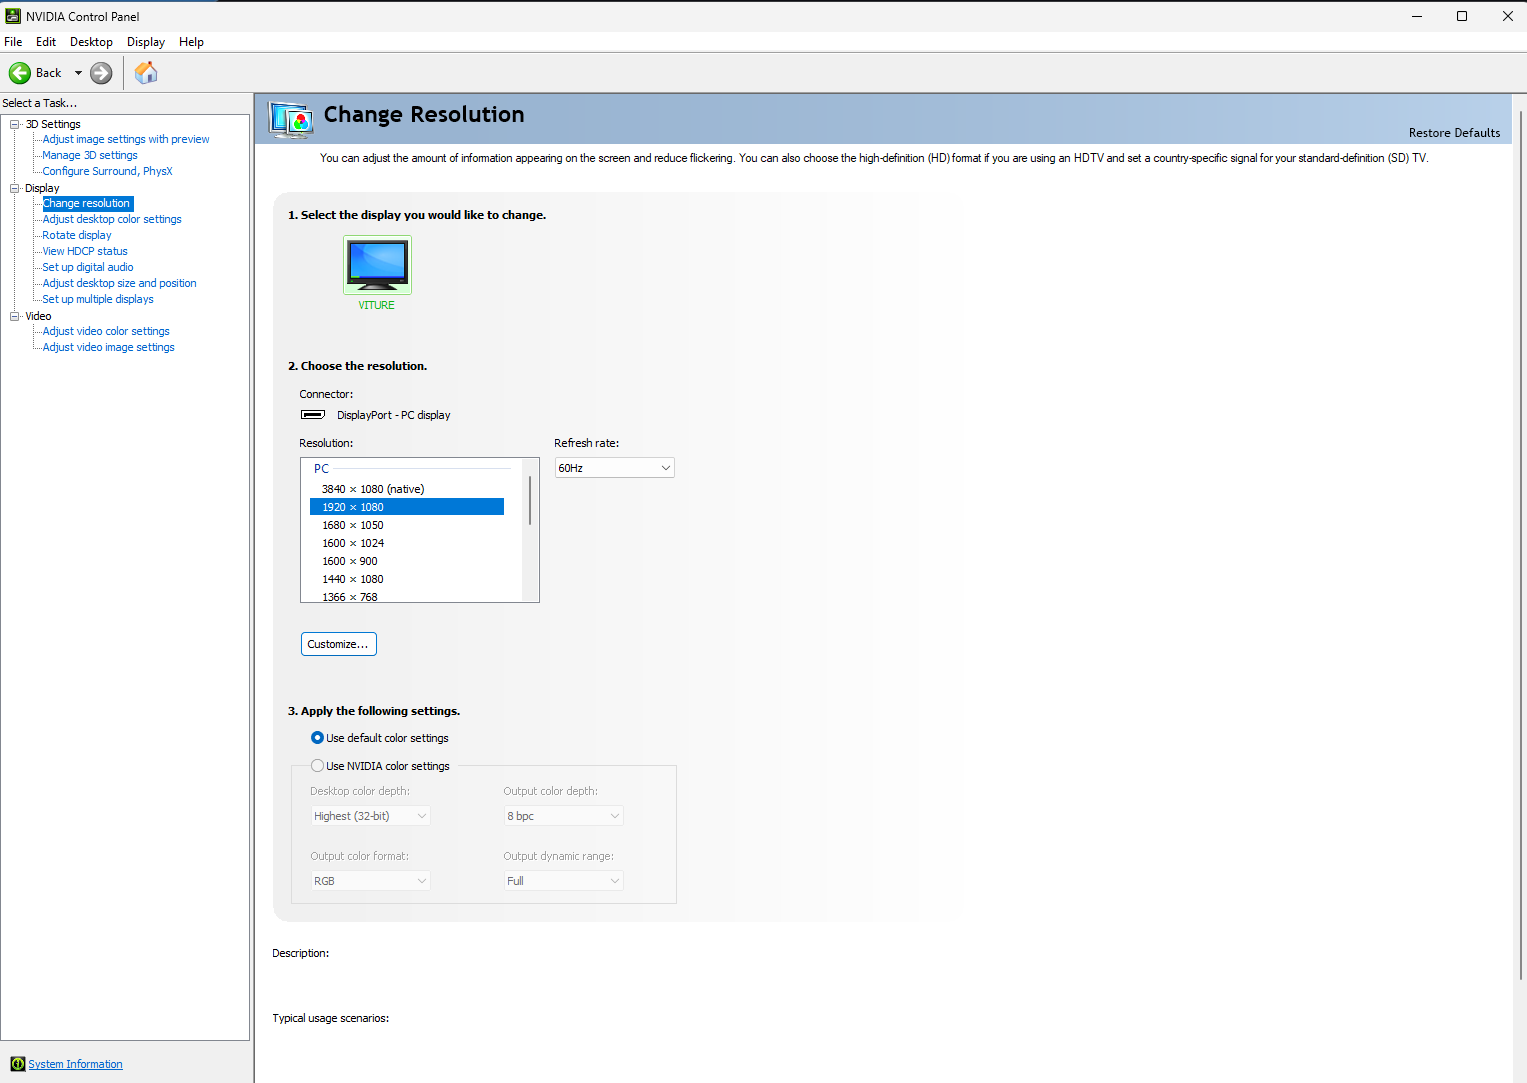
Screenshot of the NVIDIA resolution settings.#
Adjust Desktop Size and Position: Go to Adjust Desktop size and Position. Set it to Fullscreen, and the other settings should automatically be correct.
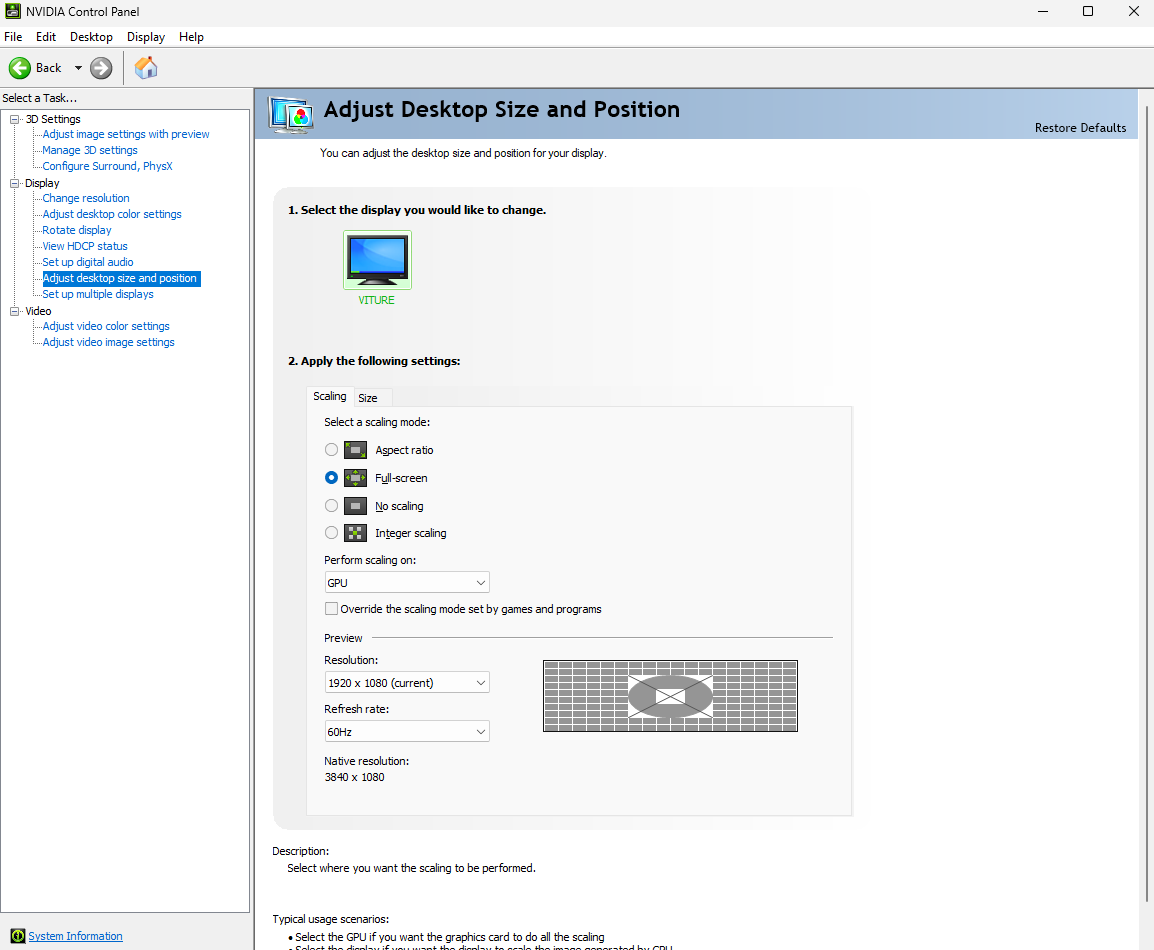
Screenshot of the NVIDIA desktop size and position settings.#
Now you can start your game with SuperDepth3D and enjoy it in stereo 3D.