PCSX2
This guide shows you how to set up ReShade with the PCSX2 emulator.
Introduction to PCSX2 Settings
We’ll use the DX11 API for this guide because it works well with other add-ons.
Display Settings
To find the display settings, go to the menu shown below.
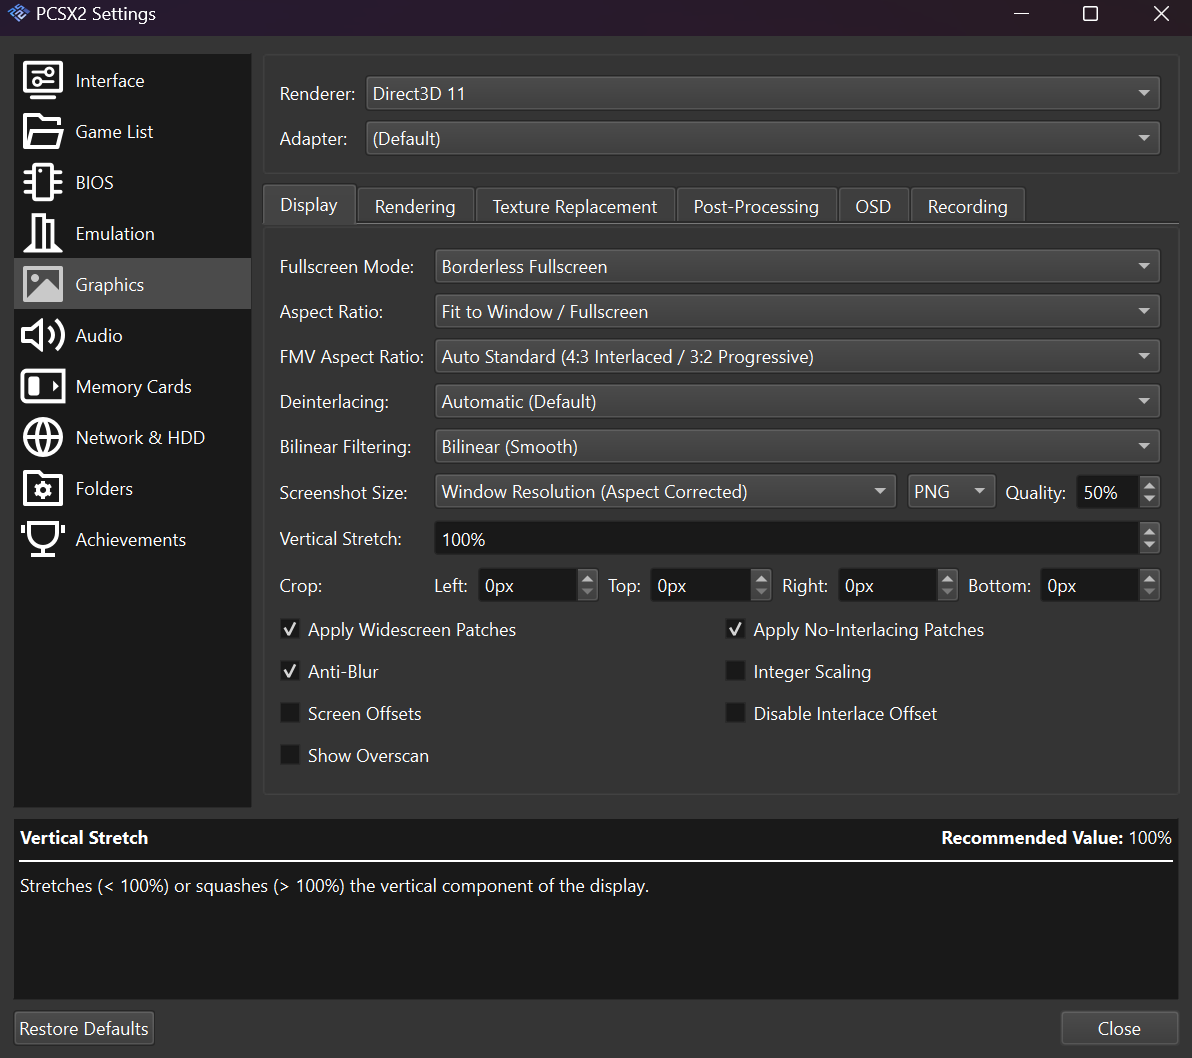
Screenshot of the PCSX2 display settings menu.
Fullscreen Mode & Aspect Ratio: Set the aspect ratio to Fit to Window as shown below.

Screenshot showing Fit to Window aspect ratio selected.
This is important because the depth buffer is set this way internally.
Anti-Blur: Turn on this option to reduce blurry effects.
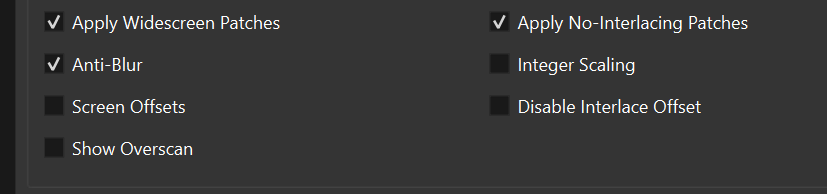
Screenshot showing the Anti-Blur option enabled.
Rendering
We’ll use the DX11 API for rendering. You can try other APIs if they can output a depth buffer.
Rendering Options
To find the rendering settings, go to the menu shown below.
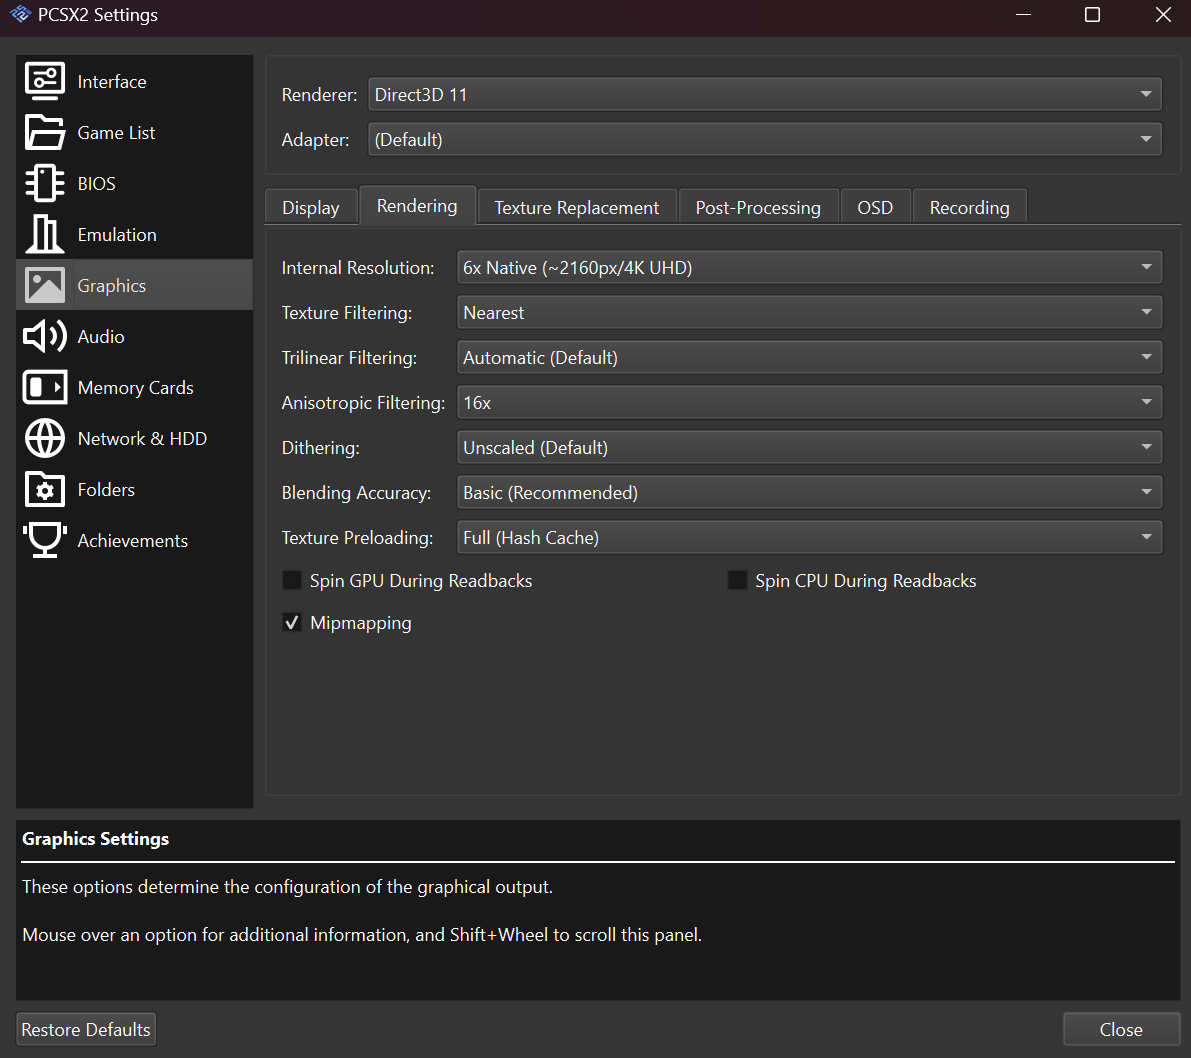
Screenshot of the PCSX2 rendering settings menu.
Rendering: Set the rendering to Direct3D 11 as shown below.

Screenshot showing Direct3D 11 selected as the renderer.
This setting works best with most ReShade add-ons.
Internal Resolution: For most games, set the internal resolution to Native.

Screenshot showing Native resolution selected.
This also helps ReShade’s generic depth add-on work correctly.
Installing and Configuring ReShade
To use ReShade with PCSX2, follow these steps:
Install ReShade: Install ReShade using your current API setting. You can find the installation guide here.
Turn off the emulator and install ReShade.
Start your game and open the ReShade menu.
Check the depth buffer: In the add-ons tab, check the depth buffer.
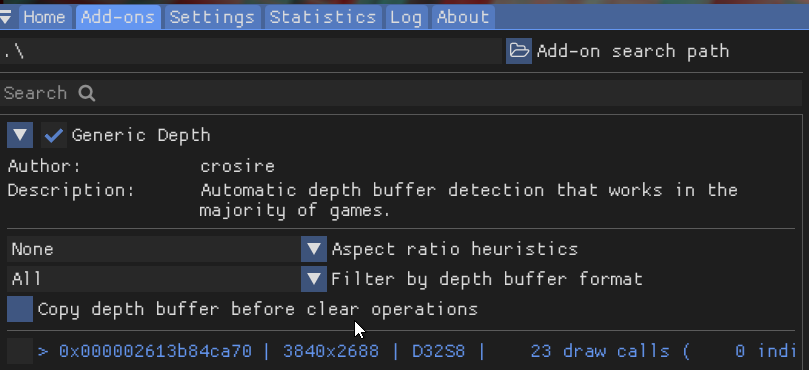
Screenshot of the ReShade add-ons tab showing the depth buffer.
Additional Information
Make sure you finish any other setup, like configuring games and BIOS, on your own.
Conclusion
This guide gives you a good start for using ReShade with PCSX2. Keep in mind that the best settings might be different for each game.